We tested: Talend Enterprise Data Integration 5.4.1
Working with Talend Data Integration Studio
Once we had installed and configured Talend Enterprise Data Integration, we were able to log into the project and were ready to start work. As mentioned above, Talend Data Integration Studio is based on the Eclipse development environment, so users who are familiar with Eclipse will find it relatively easy to find their way around the solution.
Data Integration Studio has many capabilities over and above Eclipse. It enables the creation of software with ready-made components. In practice, the developers will see a palette on the right-hand side of the screen. This contains pre-defined components for data integration tasks. Related components have been grouped together, but the user can search to find the components or functions they need at any given time. Experienced users of Data Integration Studio who know the names of the icons can simply click on an empty area of the workspace and enter the name of the icon. Studio automatically makes the correct component appear on the workspace. Alternatively, users can drag the icons from the palette and drop them onto the workspace.
The components offer a range of different functions, including database connections to AS400, Access, DB2, Firebird, Hive, Informix, MySQL and SAS systems, the option to integrate files as data sources or export targets and features for transforming data. In practice, authorized employees will place the required icons – representing defined data sources or export targets – plus the required transformation functions on the workspace, drag links between the components to create the data flow, and specify the operational parameters. With a MySQL database, these might be the server address and the access data, for instance. Data Integration Studio then uses this information to generate the code needed to run the job and can execute the task immediately if needs be. If the code runs successfully, it can be transferred to an execution server. If errors occur, the comprehensive debugging features of Data Integration Studio will eliminate them. If necessary, custom code can be integrated into the project at any time. However, because of the many pre-defined functions and data connections available, this option will rarely be required.
A practical example
At this point we will provide an example to show how Data Integration Studio works in practice. Our task was to read customer data from a MySQL server, transform it to meet the requirements of our target system and finally export it to Salesforce.
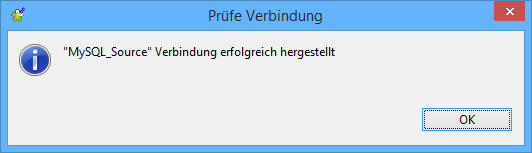
The first step was to create a connection to the MySQL database containing the source data, which comprised the names and addresses of customers and details of their orders. To set up the database connection, the user must first select Db Connections under Metadata on the left of the screen and right-click to call up the wizard for creating a new database connection. The wizard will initially prompt the user to enter the name of the connection and the database type. The next details to be entered are the database version, the login data and the database to be used on the server. Once all this has been entered, the system will test and save the connection.
To ensure that the data integration solution subsequently knows which information is available in the database, it is a good idea to save the database schema in the repository at this point. This is done by right-clicking the database connection and selecting the Retrieve Schema command. The individual schema components can then be found underneath the database entry under Table Schemas.
As soon as the source database has been defined, the next step will be to define the data transformation job. For this, the user right-clicks Job Design on the left of the screen and selects the Create job item. This opens a window for the user to enter the job name and a description if desired. The user then saves the job.
A new tab automatically opens in the middle of the window with an empty workspace for designing the job. Now it is a matter of dragging the previously created database connection from Metadata and dropping it onto the workspace. If a schema entry from the previously created Table Schemas overview is used for this, not only will the connection information be retrieved but also the correct schema definition. During the drag-and-drop step, Studio asks the user to define the type of component to be created. Options include MysqlOutput, MysqlRow, or ELTMysqlMap. As we wanted to use the connection as a data source, we selected the MysqlInput component. After that, an icon representing the MySQL data source and containing all the required connection parameters appeared on the workspace.
Next, we dragged the icon for the SalesForceOutput component from the palette and dropped it onto the workspace. We entered parameters including the Salesforce Web service URL, our login credentials and the timeout.
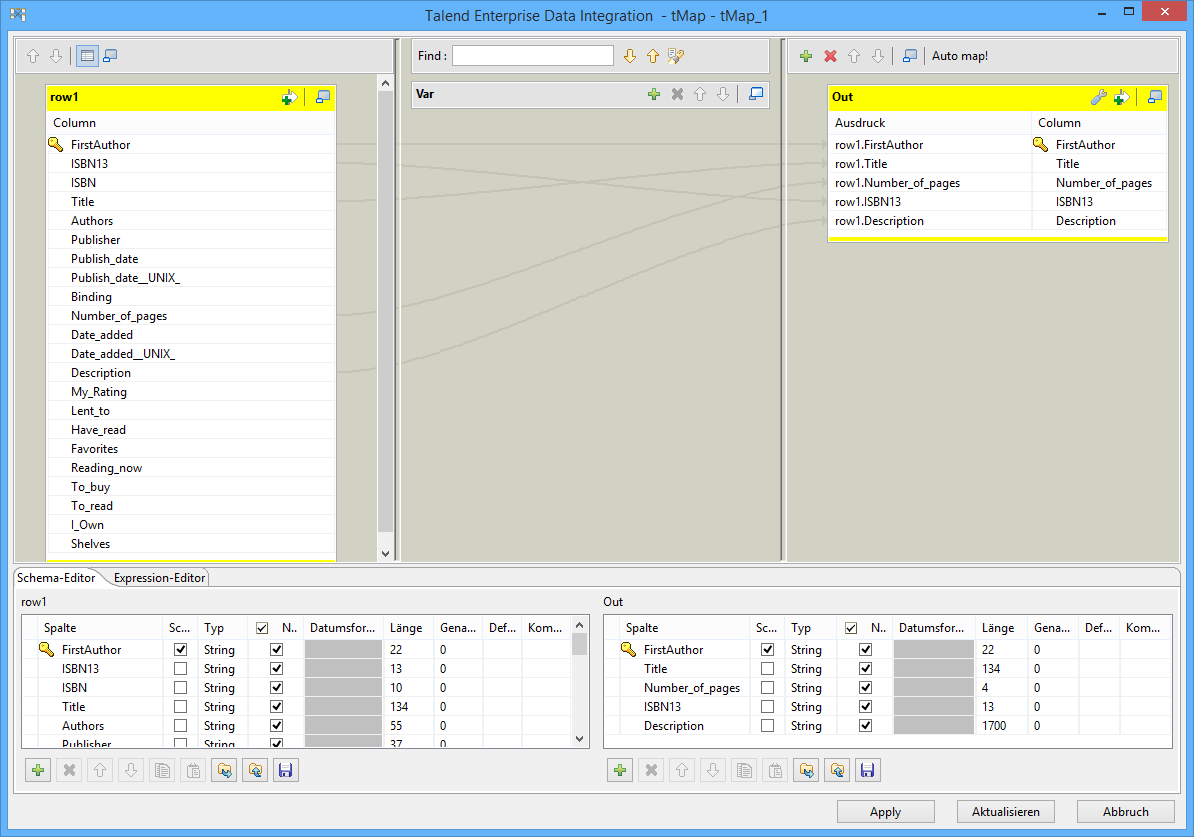
Now we were ready to start defining the data transformation itself. For this, we added an entry for a map component between the two icons already on the workspace and dragged connections between the MySQL source, the map component icon and the Salesforce target. We then double-click the map component to open a new window showing the source data on the left and the target data on the right. Now we were able to select the required data from the source database and define the target system fields into which this information was to be entered. We could be sure therefore that the first and last names of customers and their address data would be entered in the correct fields.
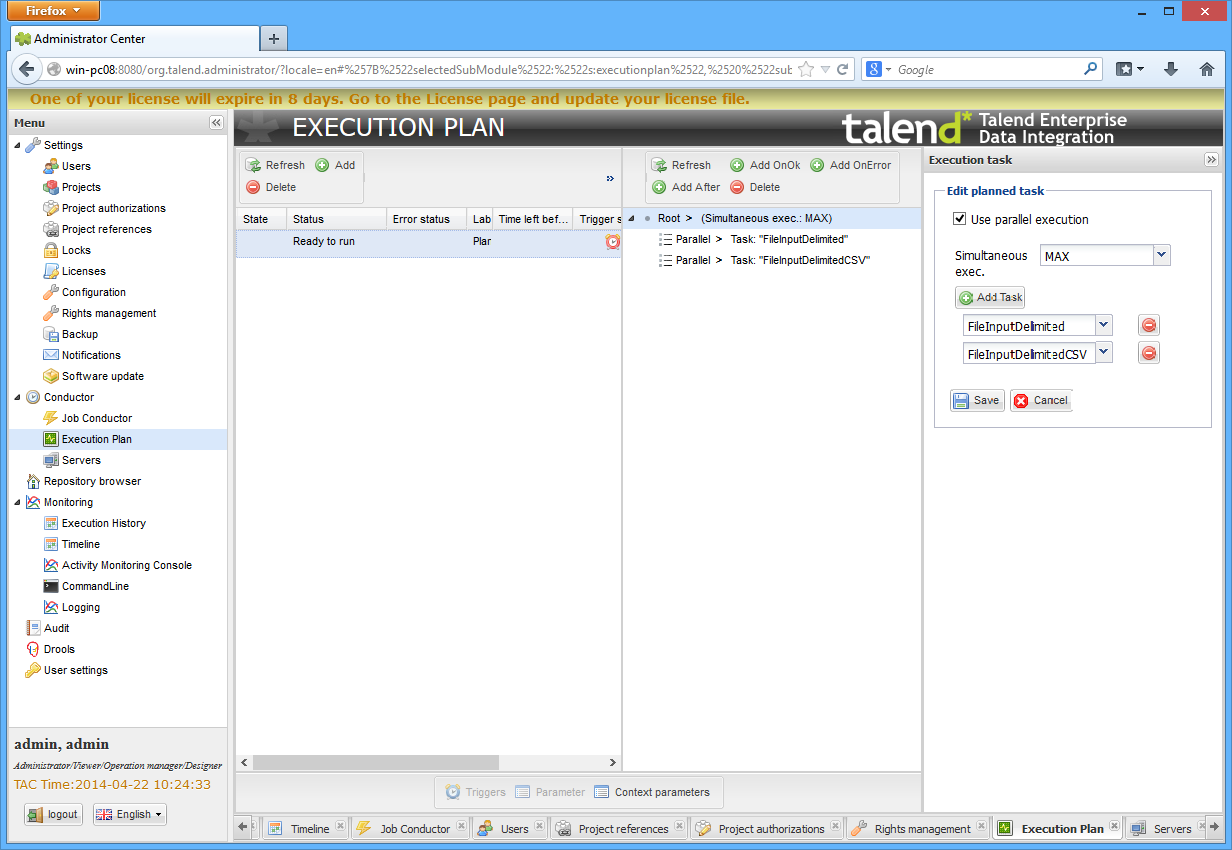
This completed the job definition stage. By clicking the Run tab underneath the workspace we were then able to execute the job for the first time and check that it worked correctly. At this stage, it was already available to be used in the Administration Center, and we will explain more about this later.
This example illustrates that Data Integration Studio provides very powerful development functionality for data transformation jobs. In most cases, the components eliminate the need to work directly with the source code. This means that even employees with limited developer skills should have no trouble working with this product.
Connecting to the cloud
Before we turn to the Administration Center, we will mention the cloud support provided by Talend Enterprise Data Integration. The palette has a menu item called Cloud which lets you connect to Salesforce as well as AmazonRDS, AmazonS3, GoogleStorage, Marketo and SugarCRM.
The Amazon support for example lets you Get data from the AmazonS3 storage service, edit it locally and upload it again to the cloud by selecting Put. There is also the option of making the execution server an Amazon instance which will process the data directly. In this case, all work steps will be performed in the cloud. Costs are only incurred whenever data is actually processed. A similar approach to storage could also be taken with Google’s cloud offerings.